
How to make a candle at home?
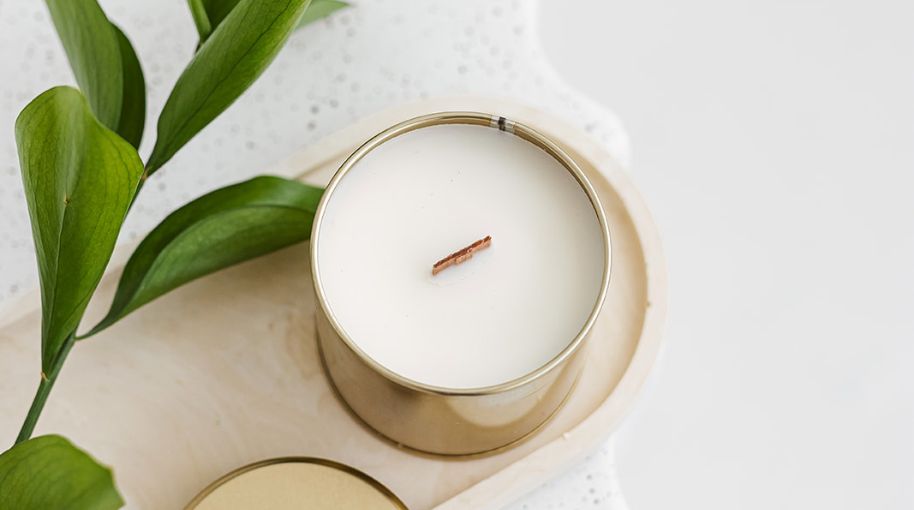
How to make a candle at home?
To make a jar candle at home, you need a few basic ingredients and tools. Here is the basic candle making process, ingredients and tools you will need.
Ingredients:
- wax (e.g. soya, rapeseed, coconut wax),
- a container for the candle (glass, metal, ceramic, etc.)
- a wick for the candle,
- stickers for the wick,
- wick centering tool,
- fragrance oil (if you want a scented candle),
- dye chips (if you want to make a coloured candle).
Production tools:
- thermometer (non-contact with ambient temperature function or food thermometer with measuring scale),
- a pot of water (about 1/3 of the volume of the pot) and a smaller container with wax in it (a metal container with a handle and a moulded funnel is best, a plastic one is not very suitable) to make a water bath,
- a hotplate to heat the water bath,
- a spatula (metal, wood or silicone) to stir the melted wax and its additives,
- sharp scissors to cut the wicks to 5 mm when the wax has finally solidified.
Production process
Cover the work surface with newspaper or plastic sheeting to make it easier to clean up any spilled wax. Use clean, dry, room temperature jars for making candles (preferably slightly warmed, can be washed in the dishwasher or sink with warm water and drained well).
Melting the wax
Choose two pots to slowly melt the wax: one large and one small. Fill the larger pot with water and place the smaller pot inside the larger one. Pour the wax into the smaller pot. Melt the wax in the smaller pot over a slow, medium heat in the water bath. The wax may melt by itself, or you may stir very gently to break up the lumps of wax and heat until it melts and becomes like a clear yellow oil. The water in the bath must not boil, if air bubbles appear it is better to turn off or reduce the heat temporarily. Vegetable waxes are more sensitive, so do not exceed the maximum melting temperature of +71°C - +80°C to prevent the wax from losing its natural properties and to keep it white. Only reach the maximum temperature if you need to melt red colours for a short time, as they are harder to melt. If the wax has already become transparent, you can stop heating it.
Preparing the wick
Place the cleaned wick and holder in the jar: take the wick sticker and stick it on the bottom of the wick holder. Place the wick in the desired position at the bottom of the jar (in our case, in the middle), you can press it firmly, e.g. with a wooden tool, to centre the wick. Then push the wooden tool through the wick and centre it at the top of the jar. Place the jars where the candles will stand while you pour the wax into them and where they will continue to set, preferably on a thick, heat-retaining cloth in a draught-free place, as the vegetable wax should set slowly. This will reduce the risk of aesthetic 'blemishes' on the candle, such as 'frost', wax retracting from the sides of the jar and uneven surfaces. The container is now ready to be filled with wax.
How to add dye chips and fragrance oils
If you have candle dyes or scents, it is time to add them once the wax has completely melted. Add the colour first and the fragrance oil just before pouring the wax into the jars. The more dye you use, the brighter the colour you can get, but do not exceed the recommended concentration as this will affect the burning of the candle. Add the colour to the wax when the wax has reached its maximum melting point (+71°C - +80°C) and stir until it has melted. Once the colour has melted, allow the wax to cool to +65-75°C, then slowly add the fragrance oil, stirring for about two minutes, paying particular attention to the bottom as the scent tends to settle at the bottom of the container.
Pouring
The pouring temperature of the soft vegetable wax should be above room temperature (approx. +48.9°C - +55°C), which will allow the candle to solidify evenly and reduce the likelihood of the candle wax bouncing off the walls. It will quickly reach this temperature if cool additives (colour, fragrance oil) are added, so check actively. Once poured, the wax will begin to set within the first 30 minutes. After pouring, leave the jars uncovered for a few hours to set. The wax hardens from ~+45°C and sets completely at room temperature. Try not to move the candle for the first 4 - 5 hours.
After pouring
When the candle has fully set, after about 3 - 4 hours, the wick centering tools can be removed and the wick can be trimmed to 5mm with sharp scissors. If the surface of the candle is uneven after it has solidified, this can be corrected by briefly heating the candle from above at a distance of ~20 cm with a hair dryer without a nozzle or with a hot air gun and allowing it to harden again. This is the easiest method. Another method is the "second pour", i.e. after pouring, keep some wax in the melting pot and this wax, melted to the appropriate temperature, can be reused on the candles once they have set (e.g. after 3 or 4 hours) to smooth the surface. Once made, it is best to store the vegetable wax candles in a dark place at room temperature. Allow the candle to set for at least 12 hours before burning them. If you are making a scented candle, we recommend that you allow it to cure for 10 to 14 days before burning, as this will allow the wax to bond better with the fragrance oils and dry out, allowing the scent to diffuse better than if you were to burn the candle within 12 hours, for example.
There will probably be some trial and error before you master the art of candle making, but it can be a fun and creative process! It is important to follow safety rules when working with heat and to try to measure out the wax carefully.
We wish you beautiful candles!